Before you begin
Confirm that Flow supports your country and account. Google currently allows limited free daily use, so a paid plan is not required for every first experiment.
Create your first video
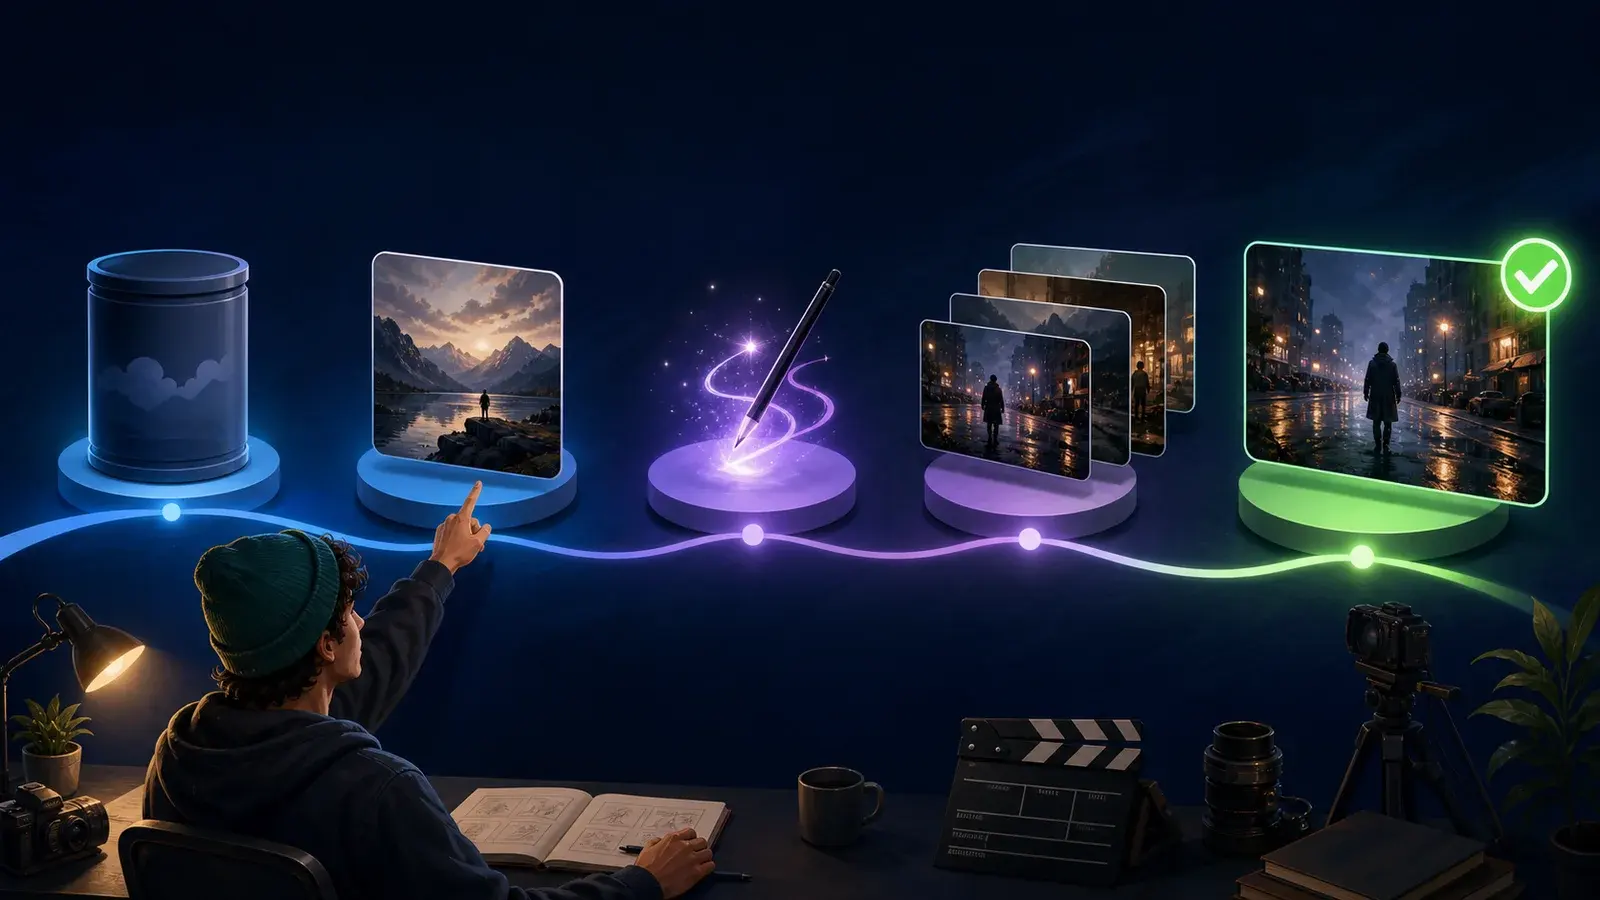
Start a project
Open Google Flow and create a new project. Projects keep related assets, characters, prompts and scenes together.Choose standard or Agent mode
Use the standard prompt box for direct control or turn on Agent for conversational planning and generation.Select Video
Open the model selector, choose Video and confirm the active model, duration, orientation, number of outputs and credit cost.Describe one shot
State the subject, visible action, environment, lighting and style. Keep the first request focused on one shot.Add supported references
Optionally add a start frame, end frame, visual ingredient, character or supported voice reference.Generate and review
Check composition, motion, identity, audio, unwanted text and continuity. Save useful versions and change one major variable at a time.Build or export
Add clips to Scenebuilder, edit a supported clip, download an asset or publish an eligible clip to YouTube.
A practical prompt structure
[subject] + [single visible action] + [environment] +
[shot size and camera movement] + [lighting and mood] +
[essential continuity or exclusion constraint]
Editorial example:
A solitary cyclist crosses a rain-darkened bridge at blue hour,
slow lateral tracking shot at wheel height, compressed city lights behind,
natural wheel motion, restrained cinematic contrast, no visible text.
Choose the right input mode
Use Text to Video when the shot can be described without a visual anchor.
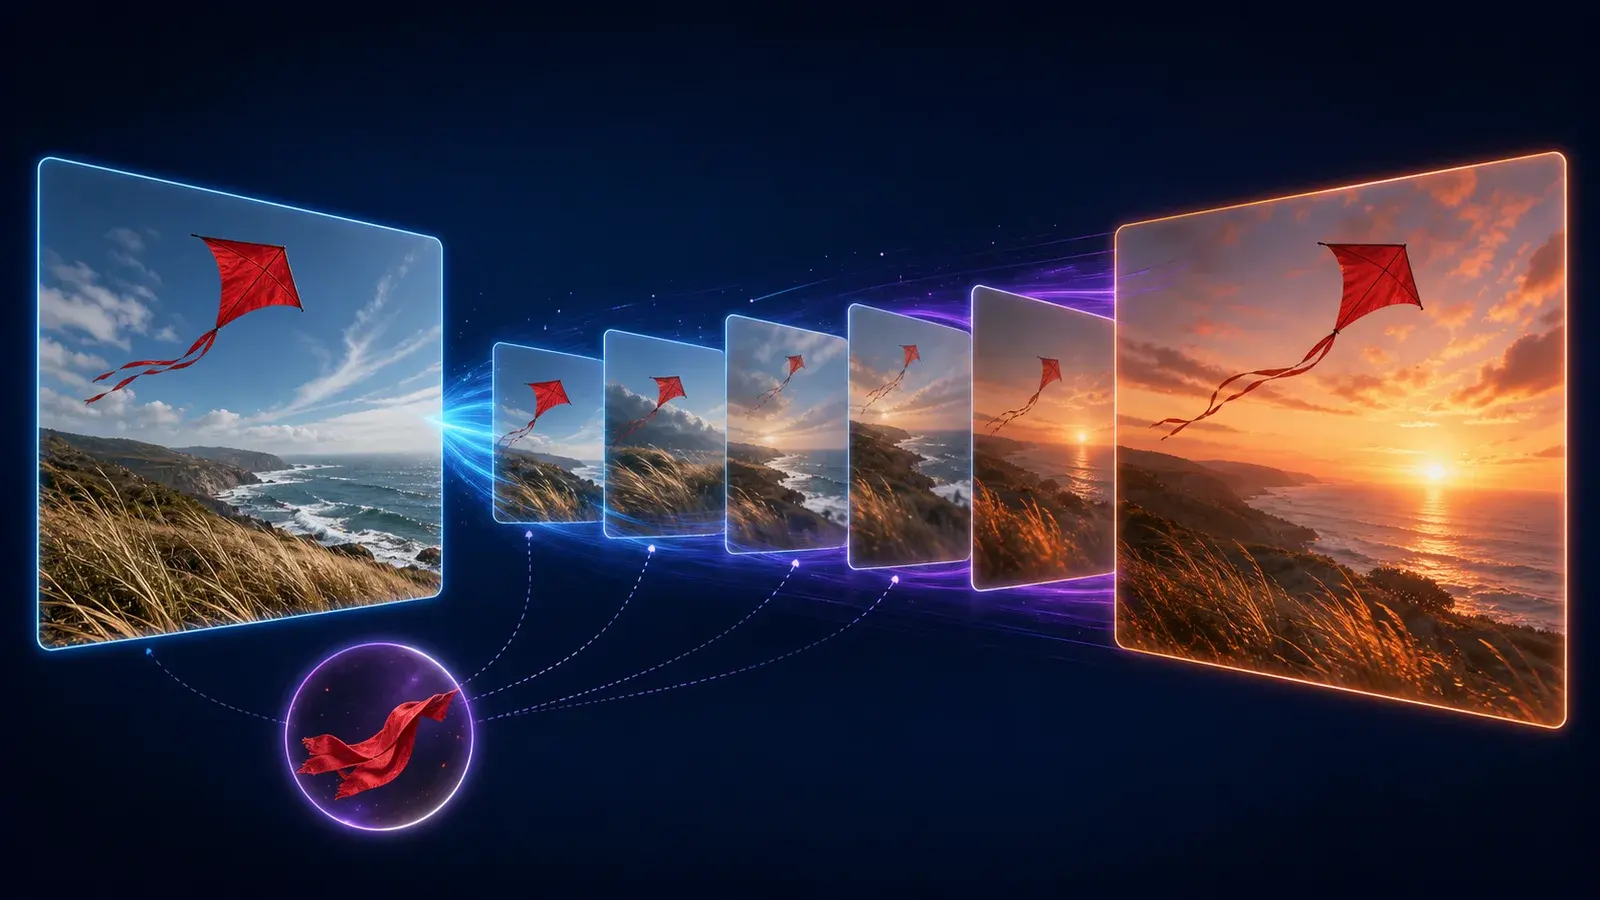
Use a first frame to animate a specific starting composition.
Use first and last frames for a planned transition where supported.
Use ingredients or character references when recurring identity or objects matter.
Use Omni Flash video editing when you need to change a supported uploaded or generated clip.
Work efficiently with credits
Before generating, check the current cost in Settings. Start with one output and a lower-cost model when exploring composition. Increase cost only after the prompt and references are stable.
Iterate without losing the lesson
Keep a short log of:
Prompt version.
Model and duration.
Inputs used.
One change made.
What improved or failed.
Changing subject, camera, style, duration and references simultaneously makes the next result difficult to diagnose.
Evidence note
This tutorial follows current official product instructions. FlowTool does not maintain a paid account lab and has not independently output-tested every model, control or example prompt.
Sources and verification
Sources support product facts; editorial judgment remains FlowTool's own. Links were last checked on the date shown above.
- Create videos in Google FlowOfficial steps for text, frames, ingredients, voices and video generation.
- Google Flow models and supported featuresCurrent model, duration and feature support matrix.
- Manage your Google Flow creditsCurrent free and subscription credit allocations, refresh rules and generation costs.
- Manage Google Flow projects, assets and collectionsOfficial project, character, collection, download and sharing instructions.
Frequently asked questions
Do I need a paid plan to use Google Flow?
Not for every first experiment. Google currently documents 50 free Flow credits per day for users without a Google AI subscription.
Should I use Google Flow Agent or the standard prompt box?
Use the standard box for direct settings and prompting. Use Agent when you want conversational brainstorming, generation, editing or project organization.
How long can a Google Flow video be?
Current generation lengths depend on the model. Veo 3.1 supports 4-, 6- and 8-second outputs; Gemini Omni Flash also lists 10 seconds.
Visible FAQ is provided for readers. FlowTool does not promise FAQ rich results.
Continue with FlowTool
Build a clearer Google Flow workflow.
Use the beginner workflow, then choose a prompt template or compare alternatives based on your actual constraints.
Open the beginner tutorial